Recipes
Best Apple Crisp Recipe
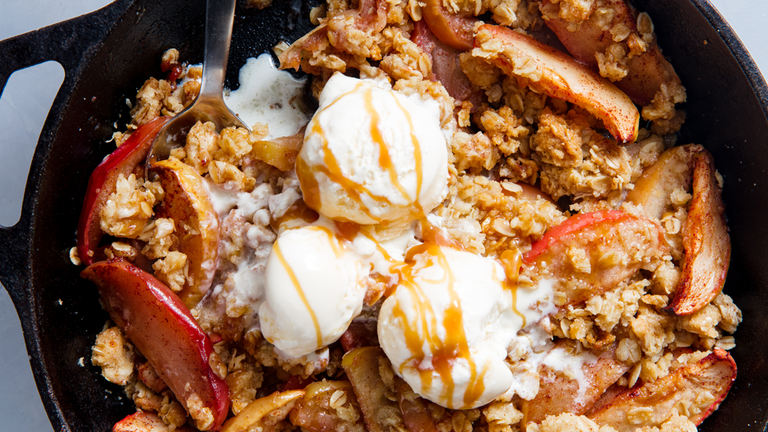
Anyone can make a good apple crisp. Even if they “hate to bake.” Follow our top tips below and you’ll be making this stunner of a recipe all fall long.
1. USE THE RIGHT KIND OF APPLES
In our opinion, granny smith, pink lady, cortland, and braeburn are the best for baking. If you can find Mutsu apples (they’re common at East Coast orchards), you can use them here too!
2. DON’T PEEL THEM!
It’s time consuming and not at all necessary. In fact, we like the rustic look of the skin-on apples.
3. USE YOUR HANDS!
Cold butter makes for a flakier, more pastry-like topping, but incorporating it into the other dry ingredients is slightly annoying. You could use a pastry cutter, but we always find that the butter starts to build up. We much prefer using our hands. The mixture is easy to control and it’s faster.
4. YOU CAN SKIP THE OATS
Oats are a preference thing that get added to the topping last minute. If they’re not in your cabinet already, feel free to skip them.
5. ADD A LITTLE WATER + LEMON JUICE
The combo of them both helps the apples get nice and jammy.
P.S. You don’t neeeeed to cook this in a skillet—we just love the rustic look. A medium deep-dish baking pan, or even a 9″ cake pan, will work too.
Juice of 1/2 lemon
Vanilla ice cream, for serving
- Preheat oven to 375°. In a large ovenproof skillet, toss apples with 2 tablespoons sugar, lemon juice, water, and cinnamon. Place skillet on a large rimmed baking dish.
- In a large bowl, whisk together flour, brown sugar, remaining 1/4 cup sugar, and salt. Using a pastry cutter (or your hands), incorporate butter into flour mixture until it resembles coarse crumbs. Add oats and squeeze mixture with your hands until big, moist clumps form.
- Scatter oat mixture on top of apples and bake until apples are bubbling and topping is golden, about 45 minutes. Let cool 10 minutes before serving with Vanilla Ice Cream.
recipe courtesy of delish.com


 Like many businesses during these difficult times, we’ve had to temporarily close our store to help with social distancing…however, we are still serving our customers through many different ways including gift cards to help our employees, home deliveries and fun Daily Quarantine Care Packages!